
Precautions when Powering On and Off Liquid Chromatography Instruments
Properly shutting down liquid chromatography instruments before the holiday and powering them back on are crucial for ensuring stable performance and extending the lifespan of equipment. This guide outlines key steps and considerations for safely starting and stopping various LC systems from Welch Materials, including setting up modules, balancing the system, managing solvents, and preventing common issues such as leaks and pressure fluctuations.
Table of content

WiSys 5000 Analytical Liquid Chromatography
WelPrep® 2000 Preparative Liquid Chromatography
GPC 1800 Gel Permeation Chromatography
WelPacker® Production-Scale LC System
Power-On Precautions:
- Prepare solvents and mobile phases required for the experiment.
- Check the power connections of all modules, then turn on the pump, autosampler, column oven, and detector.
- Power on the computer, launch the workstation, check the connection status of each module to avoid any leakage, and balance the system.
- Set the column oven temperature according to the method, flush and replace the system, and balance it using the mobile phase.
- Detector settings:
- VWD/DAD Detectors: After starting the pump for about 5 minutes, turn on the deuterium or tungsten lamp, set the detection wavelength, and preheat for approximately 30 minutes.
- FLD Detector: Set the cell temperature, excitation wavelength, emission wavelength, and acquisition frequency.
- RI Detector: First, open the purge valve (purge=on) and rinse the reference cell for about 20 minutes, then close the purge valve (purge=off) and set the cell temperature and polarity.
- ELSD-5450 Detector: start by turning on the nitrogen gas, setting the pressure to 3.5 bar, ensuring continuous gas supply, and setting a high temperature, such as 80°C. Flush for about 25 minutes. Monitor the baseline; once the system is balanced, and the baseline is stable, you can begin sample injection analysis.

Additional Notes: If there's no pressure from the pump, typically after a long holiday, check the system for air bubbles. If purging doesn’t solve the issue, use a syringe to remove air from the tubing and reconnect. If the check valve's sapphire ball is sticky, replace the valve cartridge or clean it with methanol via ultrasonication before reinstalling.
If pressure fluctuates by more than 3 MPa upon startup, check for bubbles, leaks, malfunctioning check valves, or incorrect pump phase.
Power-Off Precautions:
-
Column and System Flushing:
- Reversed-phase systems: If buffer salts are used, flush with a high water-content solution (e.g., 10% methanol-water) for 60 minutes, followed by a high organic solvent (e.g., 100% methanol) for 30 minutes. If no buffer salts are used, flush directly with a high organic solvent for 30 minutes. Adjust flow rate and monitor pressure changes during flushing.
- Normal-phase systems: Flush with a strong solvent like isopropanol for 30 minutes, adjusting flow and pressure.
- Column Storage: Flush according to the column’s user manual, then remove and store properly.
- Solvent Replacement: Use a two-way connection to replace water-containing mobile phases with organic solvents in all system lines to prevent microbial growth.
- Turn off Detector Lamps: In the workstation, turn off the detector lamps. Follow the manufacturer's recommendations for non-Welch systems.
- Pump and System Shutdown: Stop the pump, shut down the workstation, turn off the power to each module, and empty waste containers. For the GPC1800 , due to the low backpressure of the column, ensure the two-way valve is closed to prevent siphoning.

For manual injection valves, use a dedicated cleaning syringe to flush the needle port.

HT1500L Autosampler
For systems equipped with the HT1500L autosampler, follow these steps for power-on:
- Check tubing and power connections, place wash solvent in the appropriate bottle, and position it in the corresponding tray.
- Turn on the HT1500L power.
- Open the HTA Sample Manager workstation and set the required parameters.
- Flush the system. Once balanced, begin injections.
For power-off with the HT1500L autosampler:
- Empty the sample bottles in the injection tray, and refill the wash bottle with methanol.
- Flush the system while connected to the other liquid chromatography modules.
- Perform needle washing via the HTA Sample Manager, cleaning the bypass line.
- After flushing, shut down the HTA Sample Manager, turn off the HT1500L power, and clean any remaining solvent in the wash bottle.
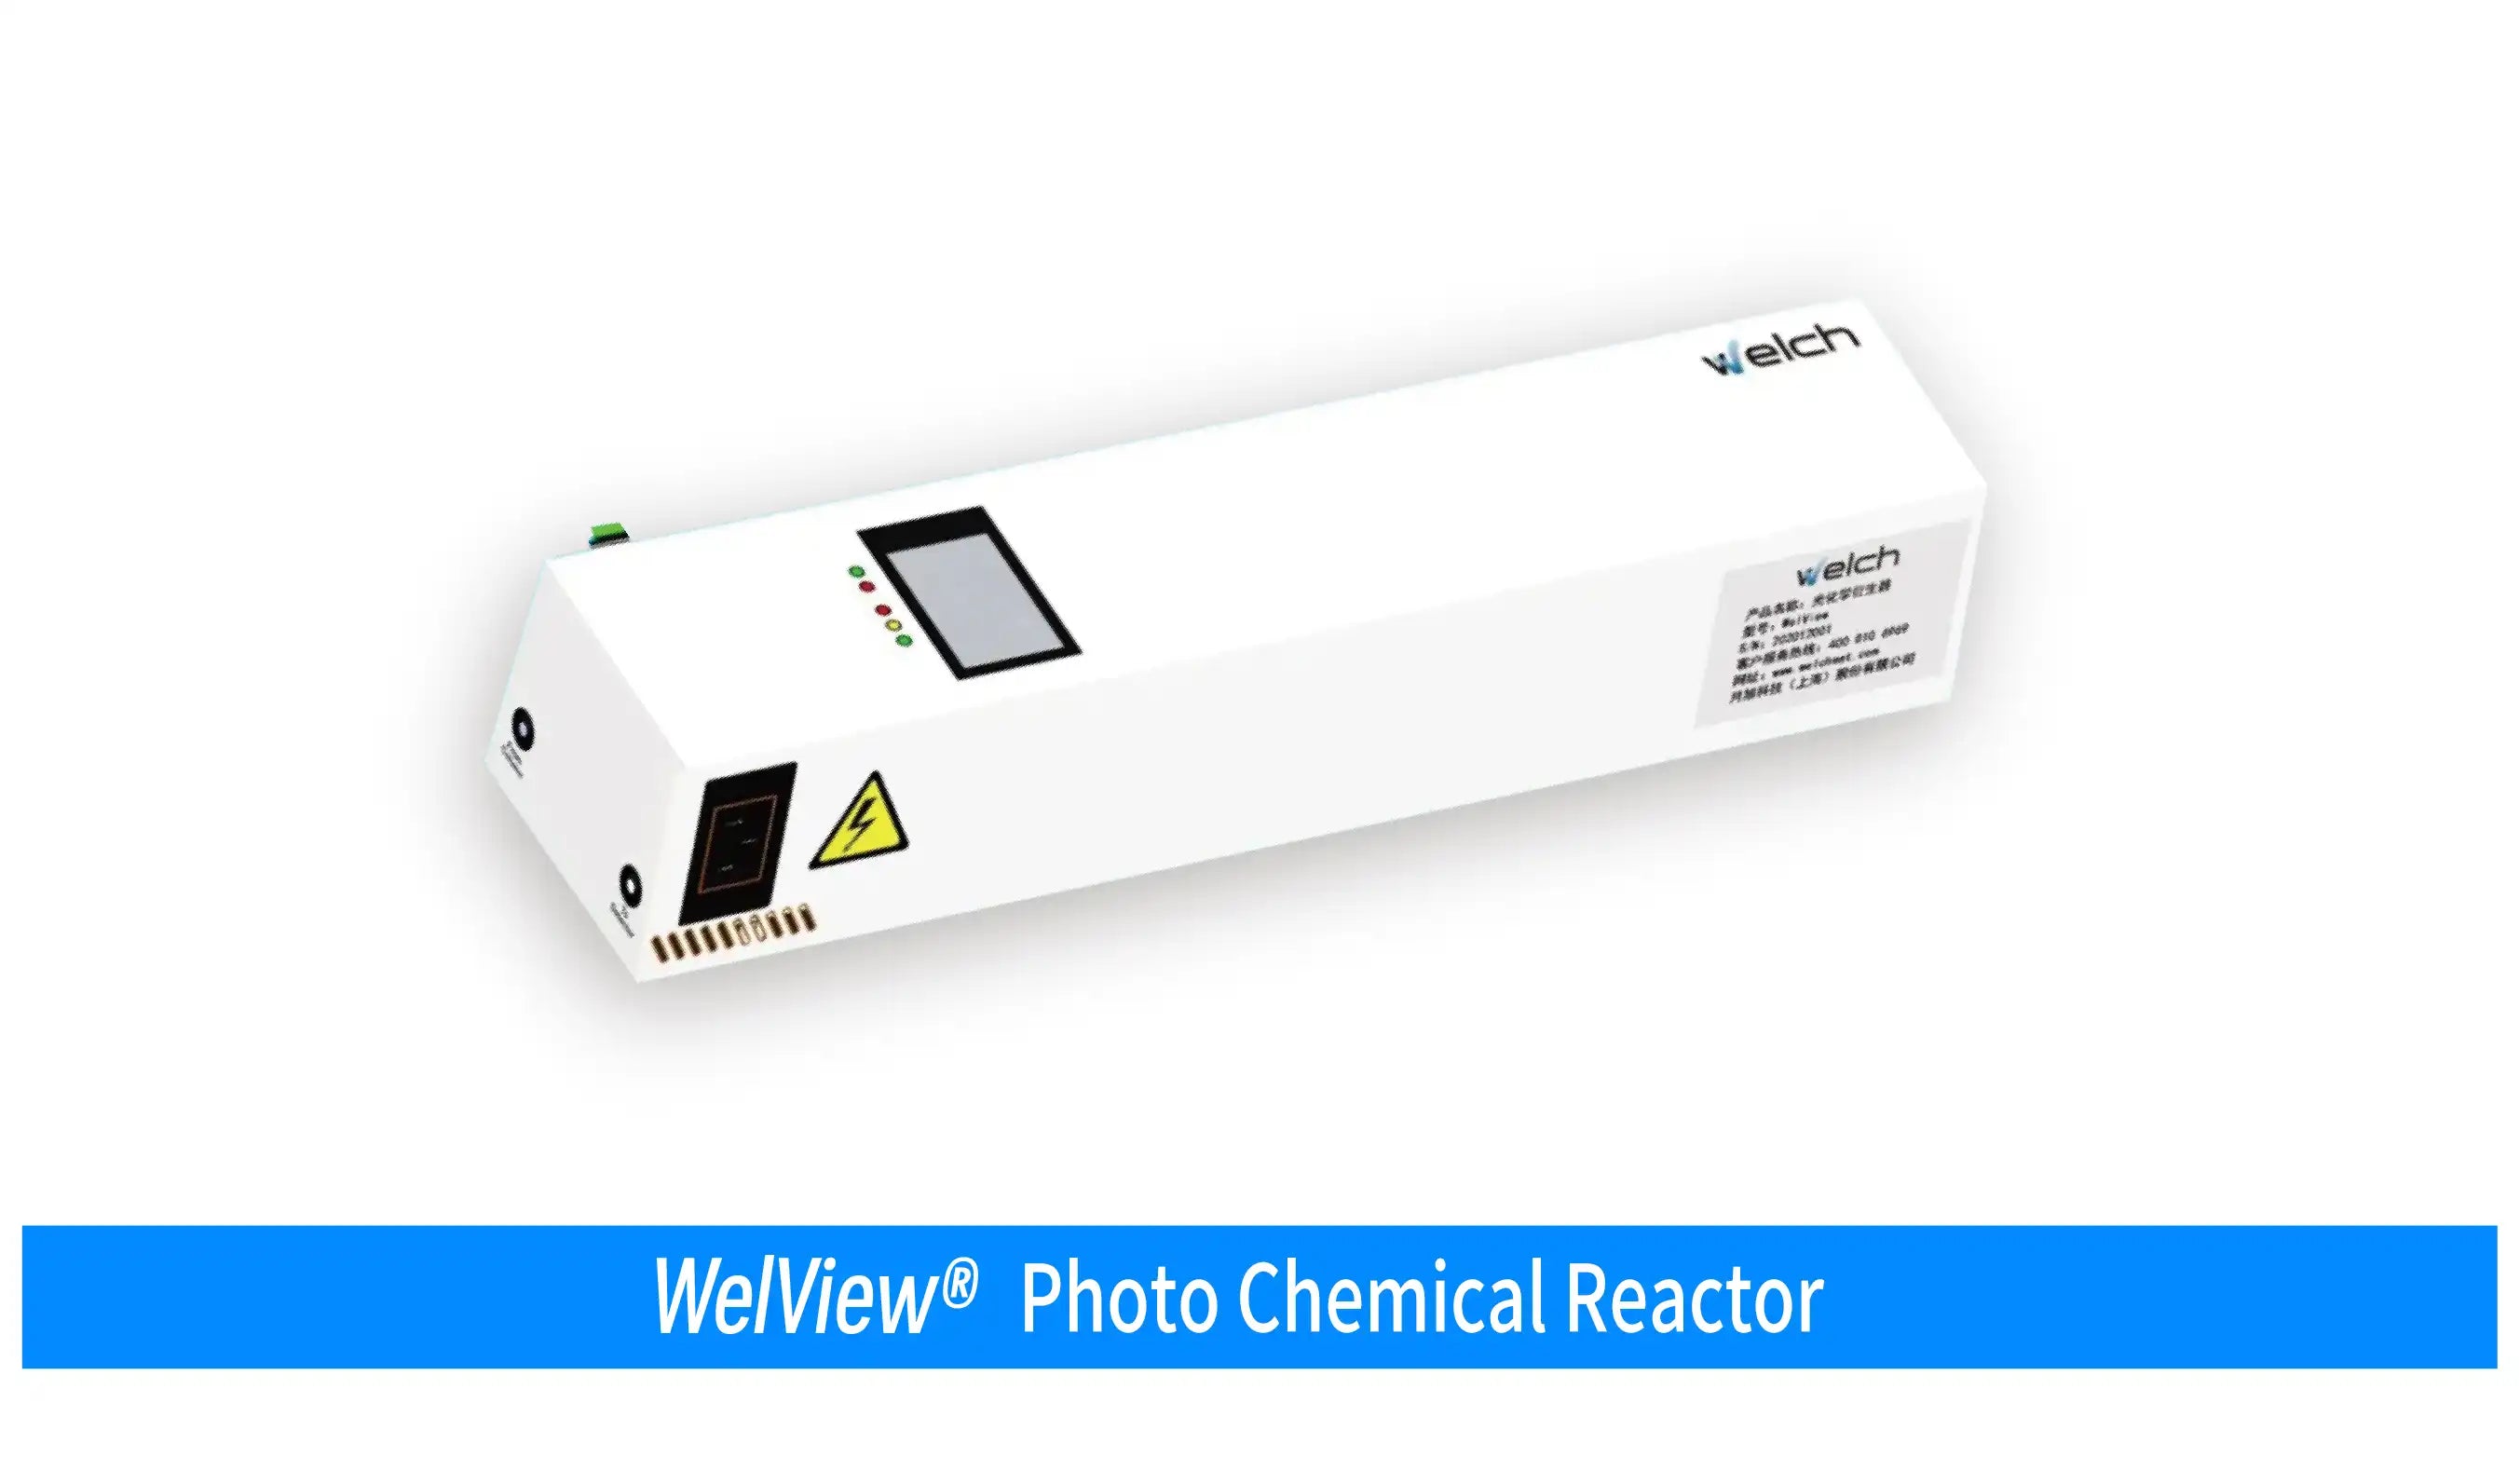
WelView® Photo Chemical Reactor
For experiments requiring the WelView photo chemical reactor, follow these steps for power-on:
- Disconnect the two-way valve and connect the reactor’s tubing to the end of the column and the detector’s inlet.
- Ensure the mobile phase is flowing through the reactor, then turn on the reactor power and monitor the screen for successful self-check. If moving to a new environment, allow the reactor to acclimate for 30 minutes before powering on.
- Once integrated with the system, balance it accordingly.
For power-off:
- Turn off the reactor power.
- Flush the reactor tubing, using the same method as for the column. This can be done either simultaneously or after the column has been flushed.
- After flushing, use a two-way valve to short-connect and seal the tubing in a high-organic solvent for storage.
(Note: Maximum pressure tolerance is 207 bar, avoid over-pressurization when powering on or off.)
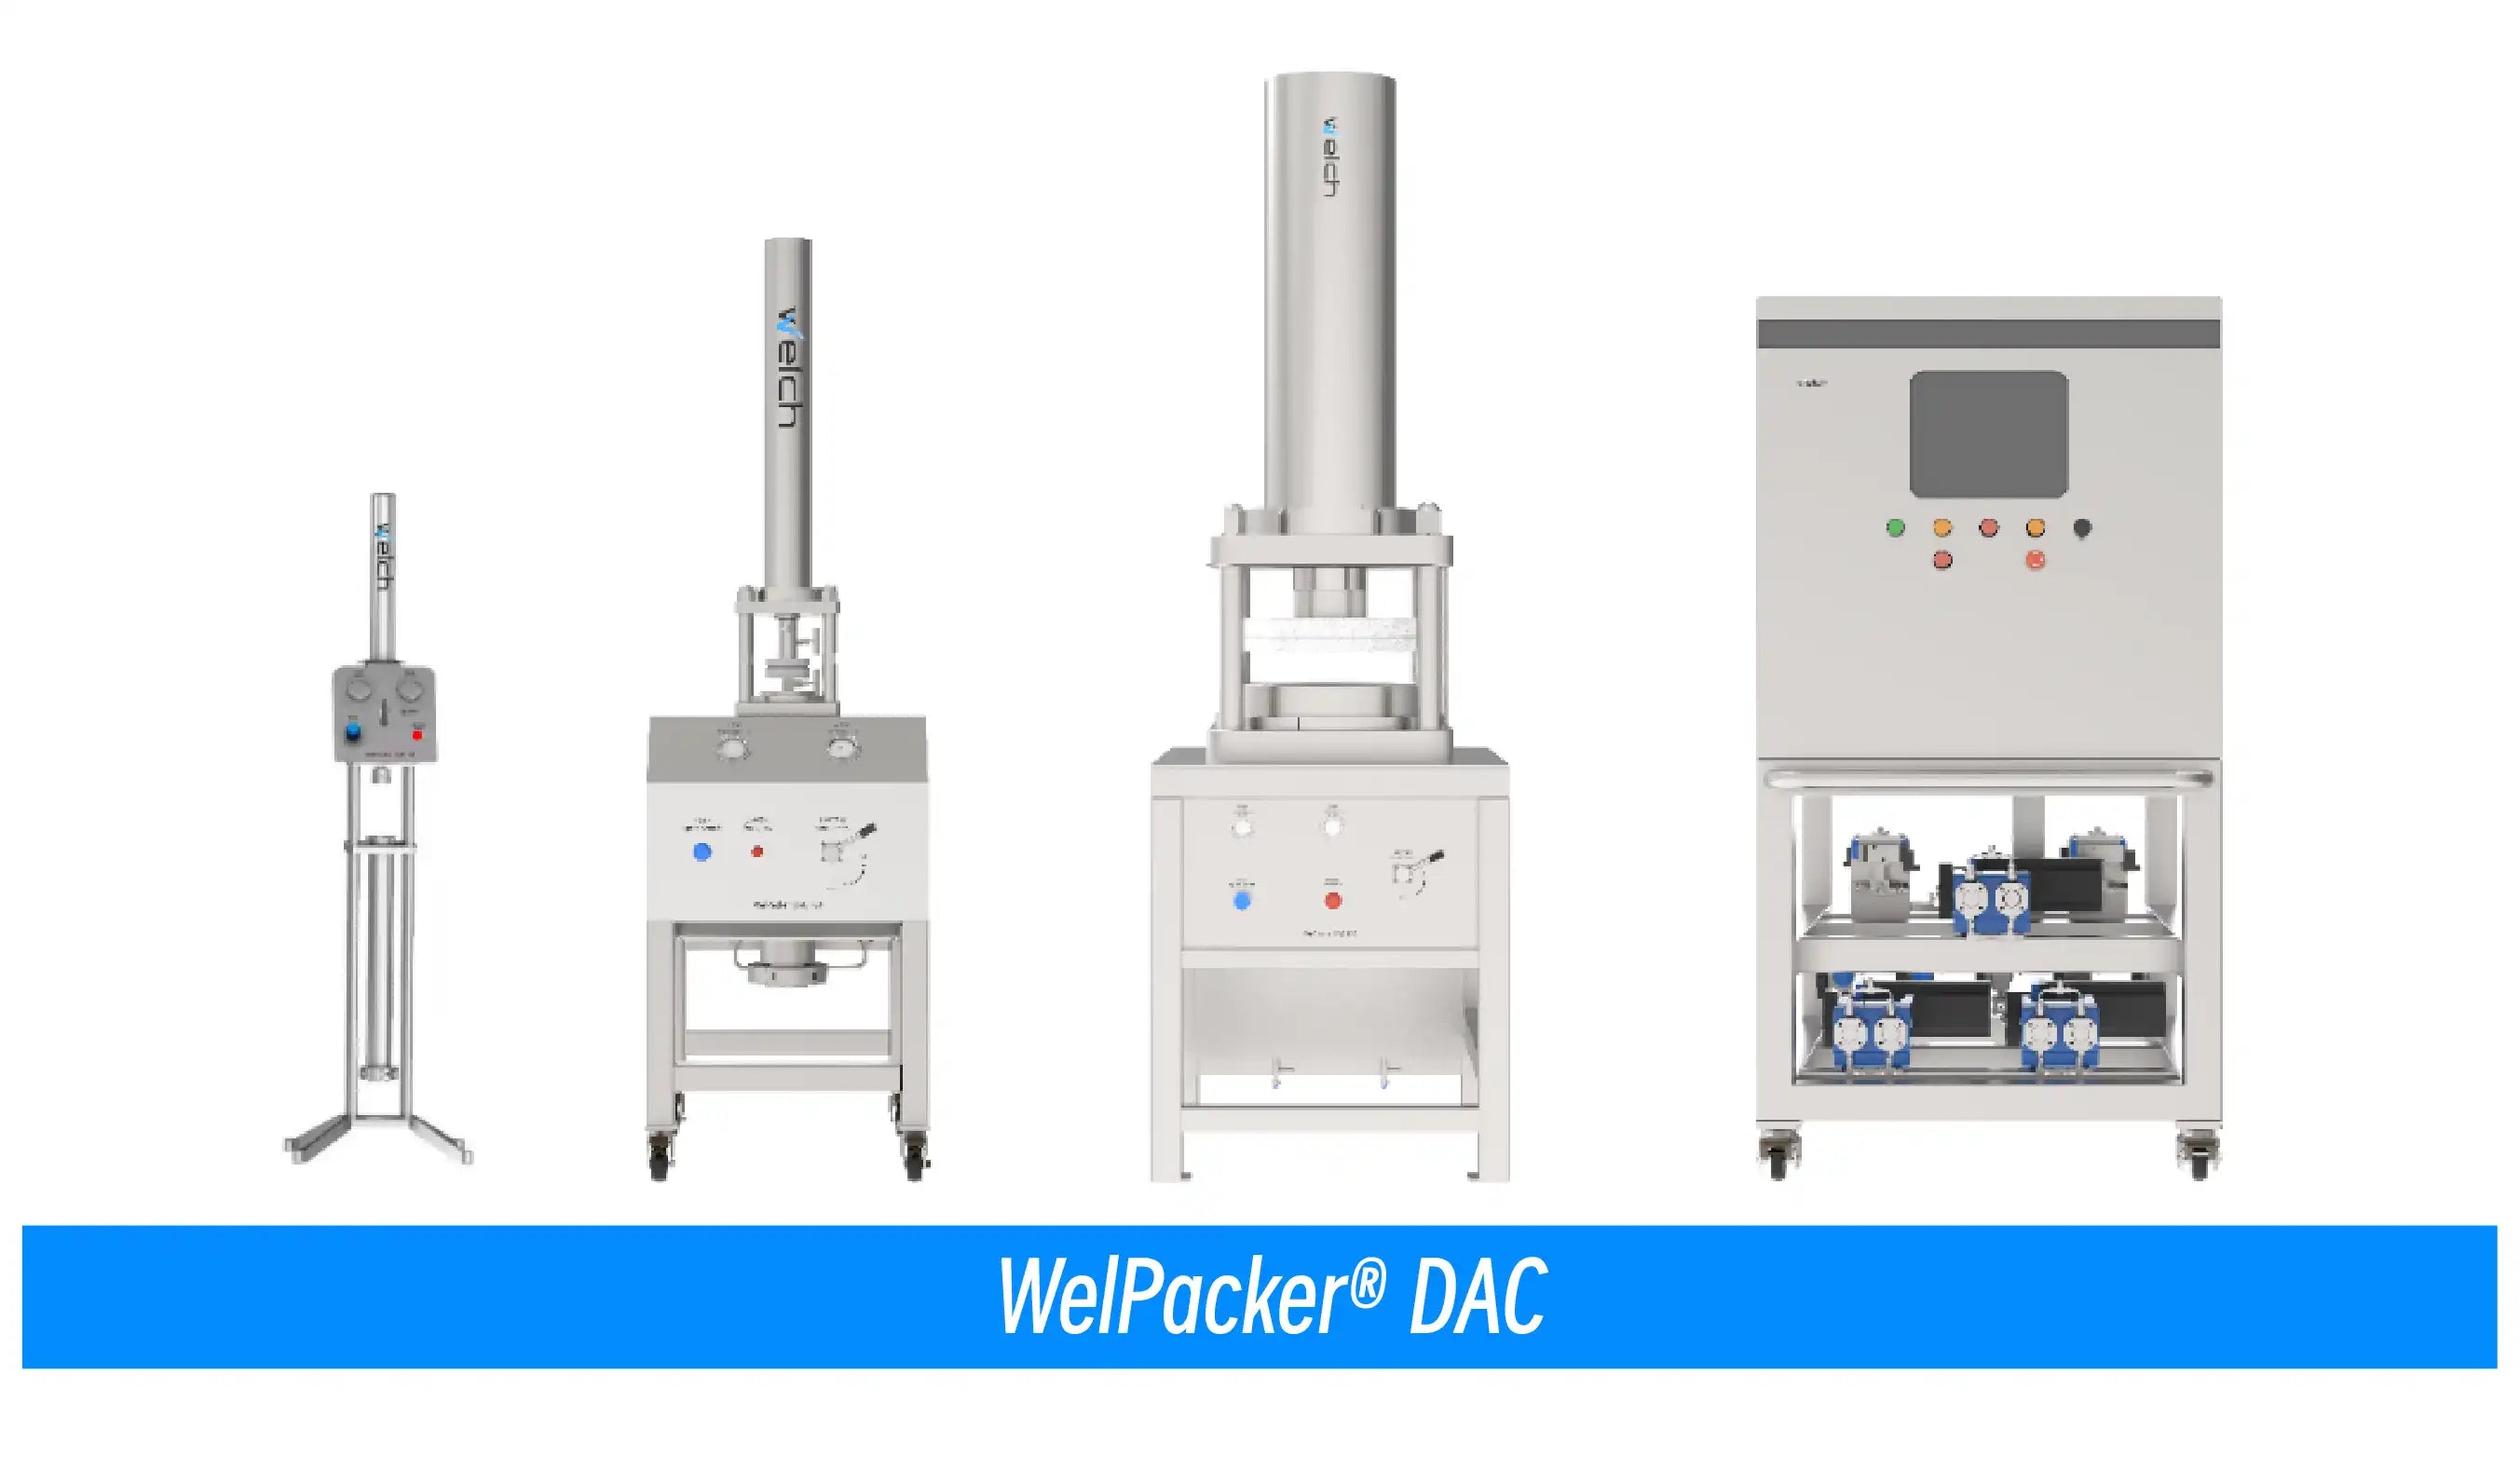
Welpacker® DAC
Power-On:
- Check that the DAC liquid and gas connections are correct, verify hydraulic and pneumatic pressure, and ensure no leaks at the piston or flange.
- Start the liquid chromatography pump and detector modules, waiting for them to initialize and reach working status.
- Once the liquid chromatography system and the dynamic axial compression column are ready, balance the system at low flow rates, gradually increase the flow, and monitor pressure changes. Begin the required preparation procedure when stable.
Power-Off:
As large-scale DAC systems are typically used in mass production, shutdown and maintenance during holidays should follow the factory’s production and maintenance schedule. General shutdown steps include:
- Flush the DAC system similarly to column flushing. After the experiment, select the appropriate solvent based on the packing material, and store in a high-organic solvent.
- If the system will be used immediately after the holiday, ensure the gas supply remains on to maintain pressure. Check all connections, ensure there are no leaks, and top up the oil reservoir if needed. It is recommended to replace the hydraulic oil annually to extend the life of pumps, valves, and seals.
- If not in use for an extended period, disassemble the column, stop the gas supply, clean the packing material according to its specifications, and store it dry. Clean the column tube, screens, and seals as per the DAC manual, then dry and store.
- After performing maintenance and shutting down the liquid chromatography system, turn off the workstation and module power. For explosion-proof systems, check the status of gauges, switch the operating knob to "0," and then cut off the power.

Watbule® Q-Series Ultrapure Water System
Power-On:
- Plug the power cord into the back of the ultrapure water system.
- Check the tap water/purified water valve and water pressure. If using a water tank, ensure the water level is adequate.
- Correct the system time.
- Switch the system to "Standby," install the purification cartridges, and then switch to "Ready" mode. The system will begin water production.
- Discard the first 20L of water. If no errors appear, the system is ready for normal operation.
Power-Off:
- 1. Unplug the power cord from the back of the instrument.
- 2. Close the water inlet valve.
- 3. Drain any remaining water from the tank.
- 4. If the system will not be used for an extended period, remove all purification cartridges, invert them until no water remains, cover them with caps, and store in a refrigerator (do not store in freezer). Use plugs to seal the cartridge slots on the water system.

DissoMate® MQ10 Mechanical Calibration Toolkit
Power-On:
- Turn on the thermometer, inclinometer, and Bluetooth module, ensuring the indicators are lit. If not, recharge the batteries.
- Long press the control terminal's lock screen button until the power-on screen appears, then recharge the terminal.
- Press any button on the dial gauge to verify successful startup.
- Reinstall 4 AA batteries in the tachometer and press the "ON/OFF" button to ensure proper startup.
- Connect the thermometer, inclinometer (with Bluetooth module), tachometer, and dial gauge to the terminal, confirming data transmission is functioning.
Power-Off:
- Confirm that the thermometer, inclinometer, and Bluetooth module are switched off.
- Long press the control terminal's lock screen button until the "Shutdown"/"Restart" option appears, then select "Shutdown."
- Long press the "Set" button on the dial gauge until "OFF" appears on the screen, releasing the button to turn it off.
(Other methods leading to no display are in standby mode and will still consume power.) - Use a Phillips screwdriver to remove the back cover of the tachometer and store the 4 AA batteries separately.
Other Power-On Tips

Liquid chromatography columns can undergo reactivation before use
Reversed-phase columns: Generally stored in 80% methanol-water solution. Before reuse, flush the column with 80% methanol-water at 0.3 mL/min, 30°C column temperature for 4 hours, then switch to 10% methanol-water and flush for 1 hour to fully reactivate the column.
Normal-phase columns: Normal-phase columns used in normal-phase mode are usually stored in n-hexane. To reactivate, flush with 100% n-hexane at 0.2 mL/min, 30°C column temperature for 4 hours, then flush with the sample mobile phase at 1 mL/min for 2 hours. Normal-phase columns used in reversed-phase mode are stored in pure acetonitrile. Reactivate by flushing with pure acetonitrile at 1 mL/min, 30°C column temperature for 2 hours.
HILIC series columns: These columns are typically stored in pure acetonitrile or 95% acetonitrile-water solution. To reactivate, first flush with pure acetonitrile at 0.3 mL/min, 30°C column temperature for 4 hours, then flush with 70% acetonitrile at 1 mL/min, 30°C column temperature for 1 hour.
Silica-based ion exchange columns: Stored in 10% methanol-water solution. To reactivate, flush with 10% methanol-water at 0.5 mL/min, 30°C column temperature for 4 hours, then flush with a transition mobile phase at 1 mL/min, 30°C column temperature for 1 hour.
Polymer-based ion exchange columns: Typically stored in pure water. To reactivate, use pH=2.5 sulfuric acid solution for H columns or 0.5 g/L EDTA/Ca solution for Ca columns at 0.5 mL/min, 80°C column temperature for 12 hours, followed by flushing with the aqueous mobile phase at 80°C for 4 hours.
SEC columns: Stored in 10% acetonitrile-water solution. To reactivate, first flush with pure acetonitrile, then flush with water at 0.5 mL/min, 30°C column temperature for 5 hours each.
Gas chromatography columns can undergo conditioning before reuse
- Ensure no heating components (e.g., injection port, detector, oven) are heated initially.
- Connect the cut capillary column to the injection port, introduce carrier gas, and maintain an appropriate flow rate.
- Insert the column outlet into a beaker containing methanol or ethanol; continuous bubbling should be observed. If not, check for leaks, column breakage, or abnormal injection port settings.
- Purge the column with 6 times the column volume (or purge for about 15 minutes) using carrier gas to eliminate any air inside the column.
- Set the oven temperature starting at 30°C, hold for 5 minutes, and gradually increase at 5°C/min to 30°C below the column’s upper temperature limit. Continue conditioning for 1–2 hours.