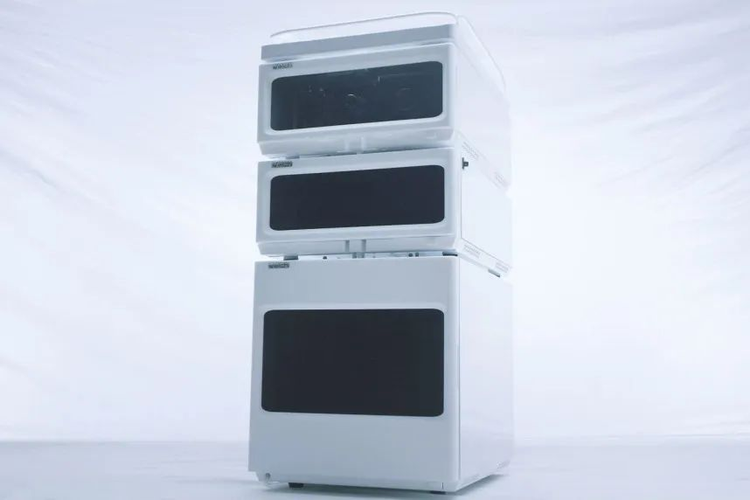
We previously shared ‘6 Steps to Easily Solve Pump Maintenance, No More Urgent Waiting for Engineers Online.’ Now, we continue to share maintenance knowledge about other modules of the liquid chromatography system.
1. Automatic Sampler
01 Injector
Fault Symptoms:
- Unstable sample retention time.
- Abnormal noise during injector movement.
Causes:
- Air bubbles in the injector.
- Lack of lubricant.
Countermeasures:
- When using washing solution, ensure thorough degassing and sufficient excess; if air bubbles persist after multiple priming operations with the syringe, manually detach the syringe. Use 50% isopropanol or cleaning solution for several repeated cleaning cycles. Draw in isopropanol, expel air bubbles inside the syringe, and create a droplet at the tip of the syringe. Reinstall the syringe and repeat priming operations until both the syringe and sample loop bubbles are expelled.
- Detach the syringe, apply Vaseline or vacuum grease to the mechanical axis, and repeatedly perform priming operations to evenly distribute the lubricant.
02 Sample Needle
Fault Symptoms:
- In the sample injection state, the pressure is much higher than normal.
- Consecutive injections of the same sample using the needle result in unstable peak areas.
Causes:
- Inaccurate positioning of the sample tray leading to inaccurate needle alignment and bending of the needle.
- Unfiltered samples, with large molecules such as proteins, causing blockages in the sample needle.
Countermeasures:
- After moving the sample tray, ensure accurate positioning.
- Before placing samples on the machine, use a suitable filter for filtration. Rinse the sample needle with an appropriate solvent, or detach the sample needle and ultrasonicate it in a suitable solvent for 10-15 minutes. If ineffective, replace the sample needle with a new one.
2. Column Oven
- Generally, malfunctions are rare, but there may be a flow phase leakage due to a loose connection of the chromatographic column joint. In this case, wiping the sensor and the internal liquid of the instrument, clearing error messages can resolve the issue.
- If the pressure is lower than the normal operational range, but the leak sensor does not trigger an alarm, there could still be a liquid leakage situation that needs investigation.
03 Chromatographic Column
- Avoid any collision, bending, or intense vibration of the chromatographic column.
- Upon receiving a new column, refer to the product manual first. Understand the precautions for using the chromatographic column, solvent storage, and activation methods for new columns.
- After each use, clean and store the column using an appropriate solvent.
- When analyzing dirty substances, filter the sample through a microporous membrane before injection, and use a protective column if necessary.
- When switching between normal phase and reverse phase chromatographic columns, thoroughly clean the system with isopropanol before connecting the column for experiments.
04 Detector
- Fault Symptoms:
During pump stop for baseline monitoring, there is significant baseline noise, and the baseline drifts severely. The detector self-calibration fails.
Cause:
Contamination in the flow cell, requiring cleaning of the flow cell.
Countermeasure:
Generally, online cleaning can be performed using a methanol-isopropanol-methanol sequence.
- Fault Symptoms:
Poor or no signal output; high baseline noise, and strong baseline drift.
Cause and Countermeasure:
Insufficient lamp energy, replace the lamp; inadequate lamp preheating, the system is not balanced, extend the preheating time.
Usage precautions:
- Turning off the deuterium lamp once reduces its lifespan, avoid frequent switching.
- Allow the lamp to be on for at least 20 minutes before conducting sample analysis.
- When shutting down the instrument, turn off the lamp first, wait for 5 minutes, and then turn off the instrument power.

